

1、连接本地与github(可选)
1.1、配置ssh_key
1)使用命令创建ssh公私钥对(使用github注册邮箱)
ssh-keygen -t rsa -C "register@mail.com"
2)从id_rsa.pub中复制公钥
ssh-rsa AAAAB3Nz......Js= register@mail.com
3)在github的settings中添加该ssh公钥
4)使用命令测试连通
ssh -T git@github.com
Hi SilenceSusuka! You've successfully authenticated, but GitHub does not provide shell access.
5)配置git config
git config --global user.name "你的用户名"
git config --global user.email "你的邮箱地址"
1.2、配置本地git仓库
1)打开文件夹后,clone远程仓库
git clone https://github.com/SilenceSusuka/MyBlog.git
2)检查remote是否正确以及分支是否正确
git remote -v
git branch -vv
若remote与branch不正确则分别执行以下设置
git remote add origin https://github.com/SilenceSusuka/MyBlog.git
git branch -M main
2、配置博客页面
2.1、下载博客模板
这边使用hugo进行博客网站搭建,因此可以使用hugo的模板
下载至本地仓库后提交,并且可根据README进行安装以及对相关文件进行配置
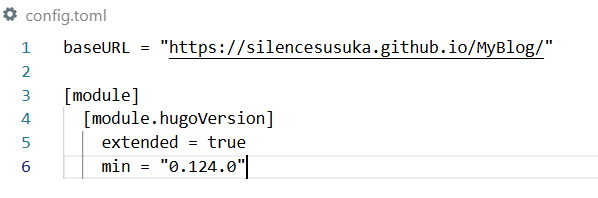
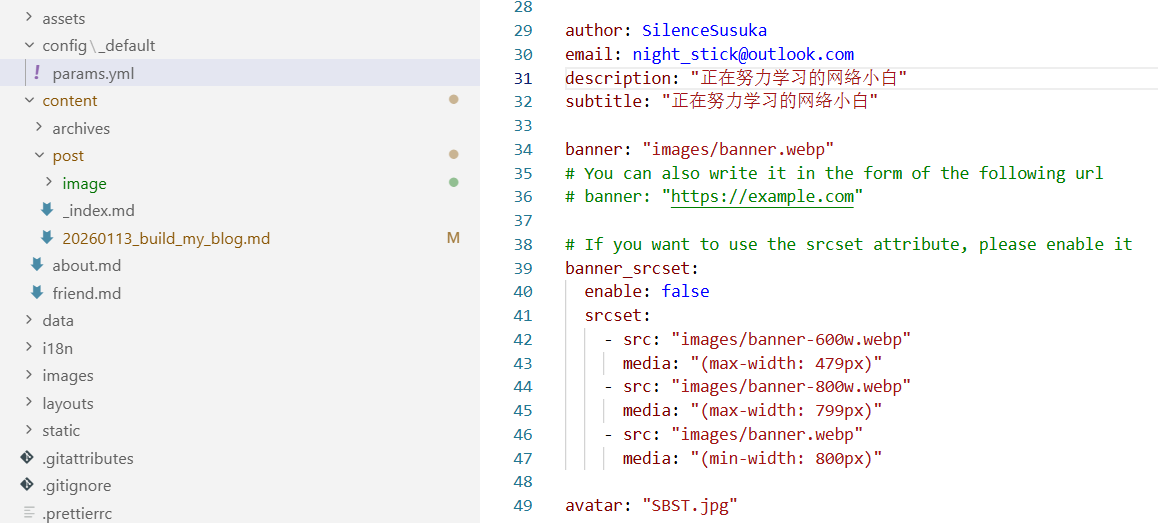
我当前下载的模板主要配置文件为config.toml以及config_default\params.yml
config.toml为hugo的旧版配置文件(新版为hugo.toml)其中必须配置正确的baseurl
baseURL = "https://silencesusuka.github.io/MyBlog/"
而config_default\params.yml主要用于配置网页内的内容,一般只需要修改主页头像,昵称,简介这些内容即可
3、使用gihub pages以及action部署博客网站
3.1、配置github actions
在项目根目录新建文件.github\workflows\deploy.yml,进行配置
name: SilenceSusuka's blog

on:
  push:
    branches:
      - main

permissions:
  contents: read
  pages: write
  id-token: write

jobs:
  build:
    runs-on: ubuntu-latest
    steps:
      - uses: actions/checkout@v4
      - uses: peaceiris/actions-hugo@v2
        with:
          hugo-version: latest
          extended: true
      - run: hugo
      - uses: actions/upload-pages-artifact@v3
        with:
          path: ./public

  deploy:
    needs: build
    runs-on: ubuntu-latest
    steps:
      - uses: actions/deploy-pages@v4
随后提交至仓库
3.2、配置github pages
接着在仓库的settings下的page设置中将source设置为github actions
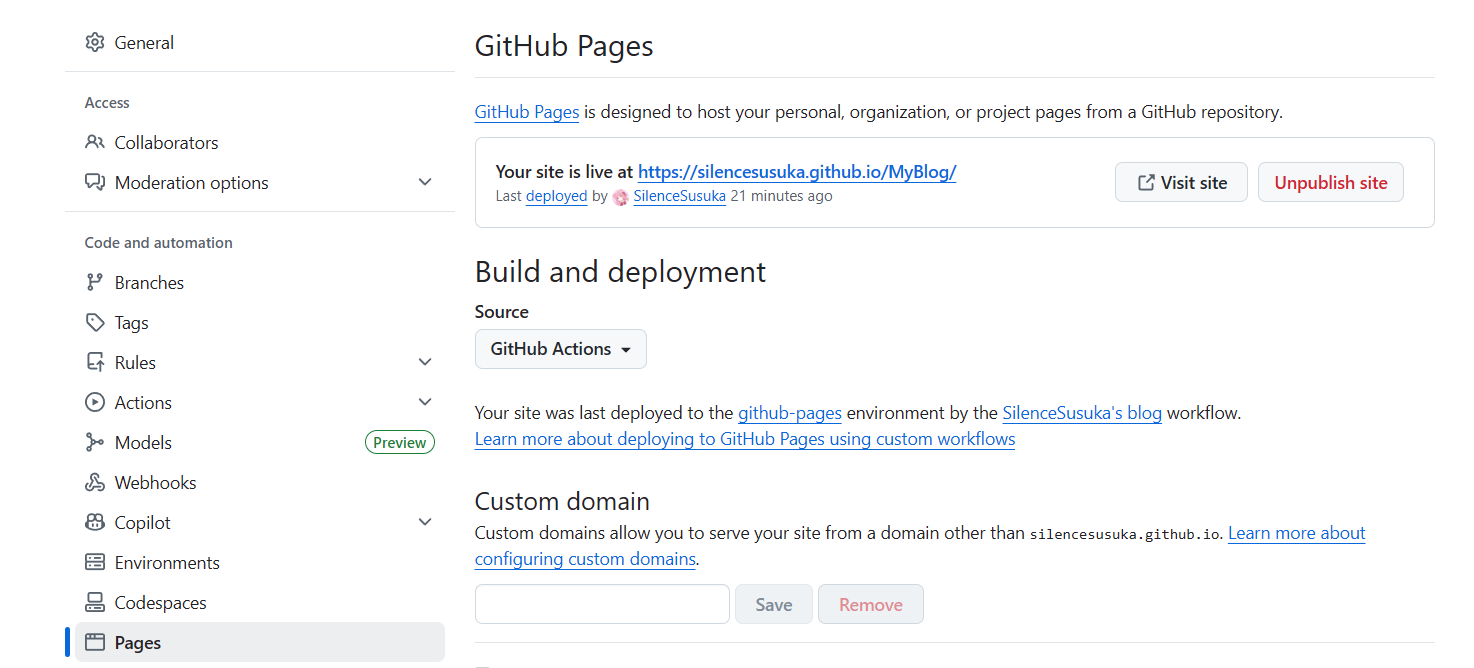
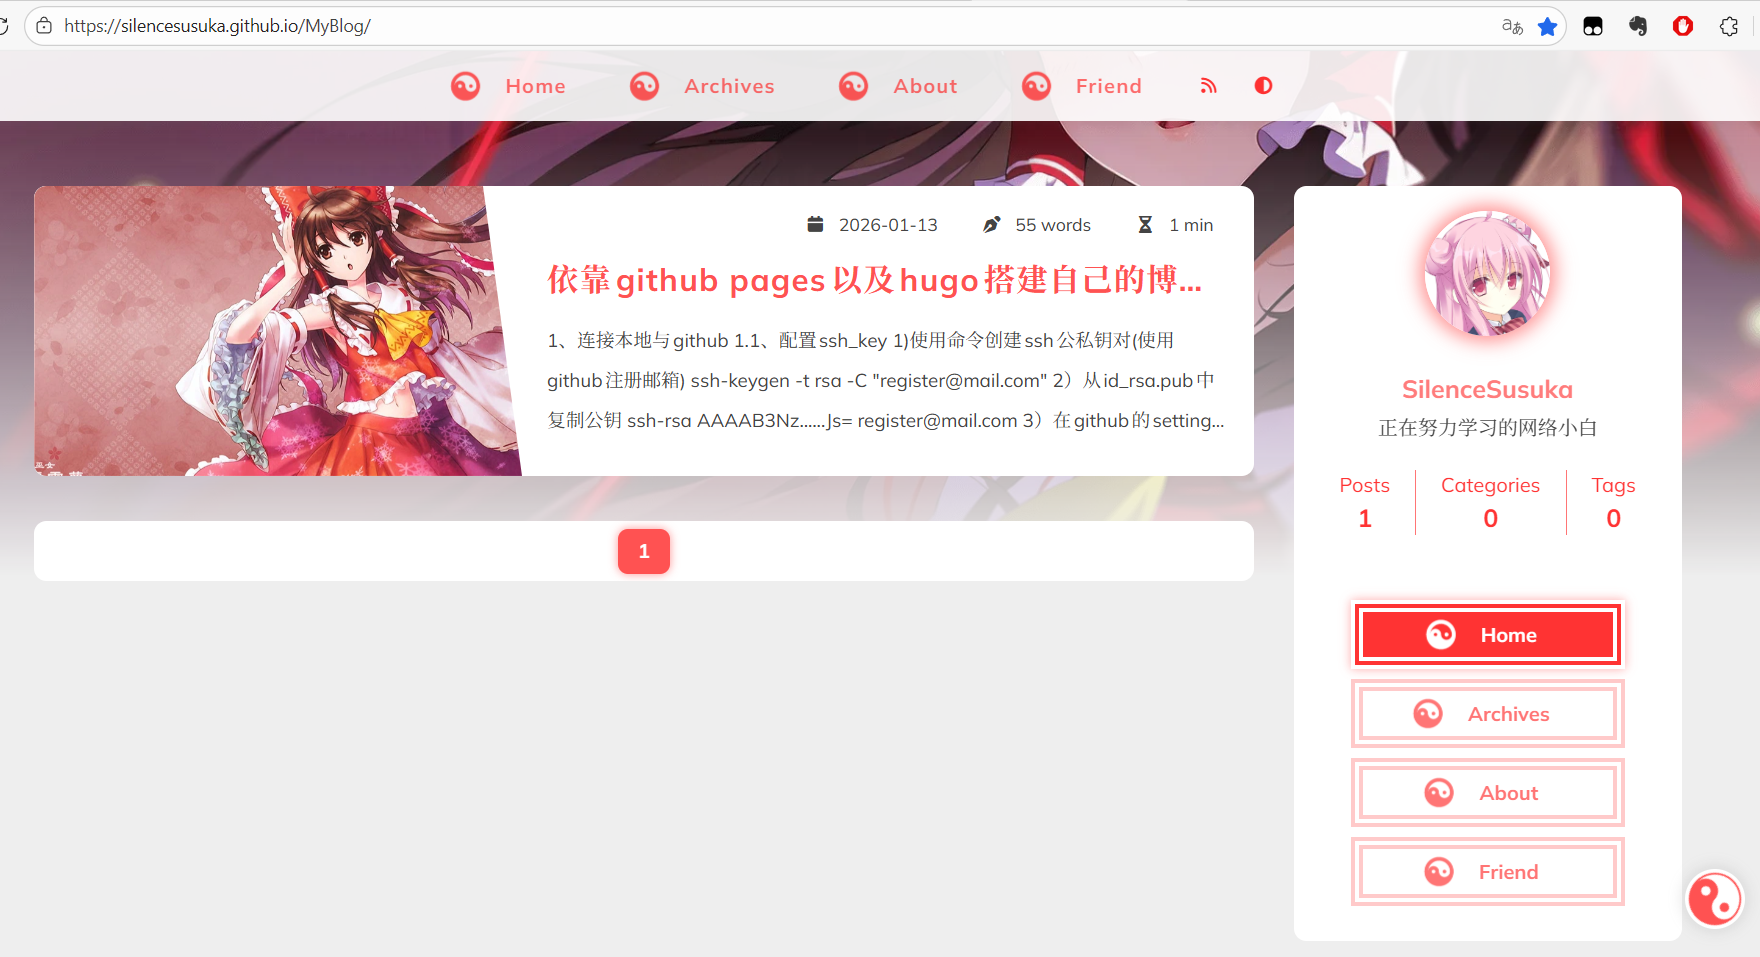
等待action启动成功后即可访问博客
4、配置自定义域名(可选)
4.1、在域名控制台设置解析
1)设置CNAME解析,解析地址为原先github博客的域名

2)验证解析是否生效,可用阿里云拨号平台
https://boce.aliyun.com/detect/dns
4.2、 设置自定义域名
1)在settings的page页面输入已配置好的域名进行验证

2)验证好后勾选Enforce HTTPS
3)设置config.toml中的baseURL为自定义的域名
baseURL = "https://blog.silencesusuka.com/"